
First time you log into Business Central you will probably be met by a screen similar to this:
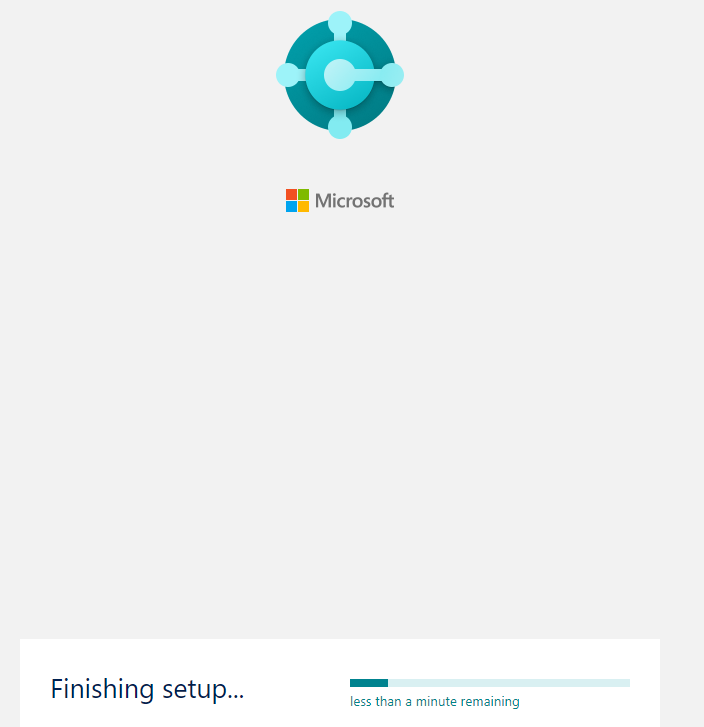
This means that your Business Central tenant is about to getting provisioned in the Microsoft data centers. Once that is done you will be presented with the Business Central role center.

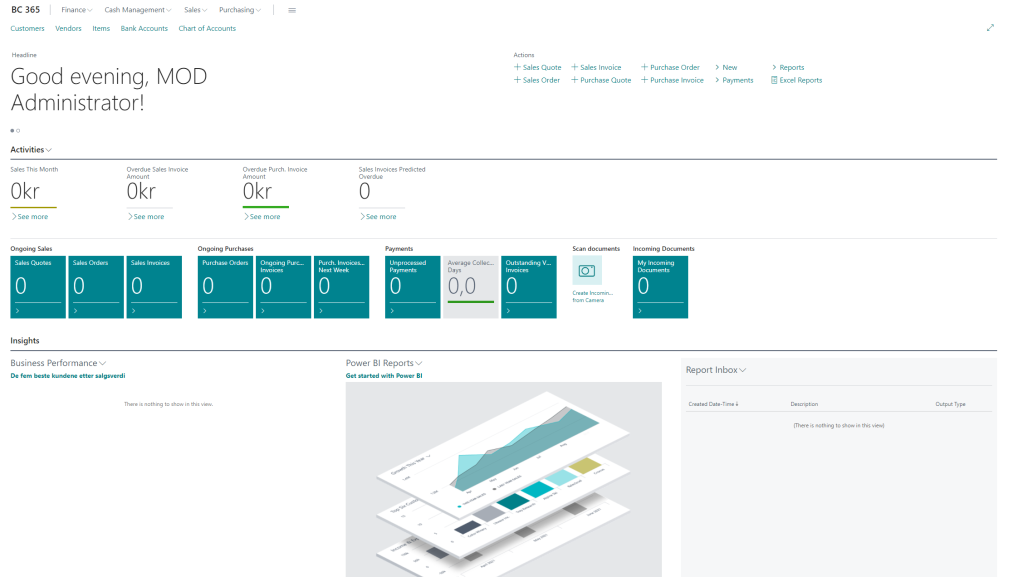
You will learn more about the role center later on. But for now you can think of it as a place where Business Central is collection some common tasks that users do on a regular basis. And different users can have different roles and then they will be assigned different role center focusing on their daily or regular tasks.
If there is a task you want to do and you cannot find access to that function in your role center I recommend you use the “Tell me” function that is built into Business Central. The “Tell me” function is the little magnifying glass that you find in the upper right corner of your Business Central screen.

When you click on that this search field will appear on your screen
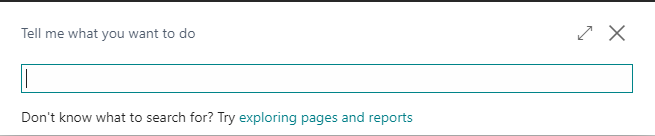
Here you can type any keyword that you want to search for and Business Central will present you with a list on possible options. As one of the first things you do in Business Central I recommend you to spend some time checking out the options the “Tell me” function gives you when you try it with different important phrases.
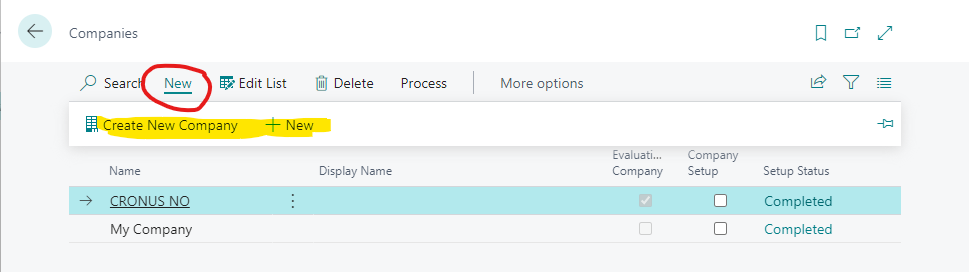
Right now we should just type “companies” in the search field because what we want to do now is to create a new company in Business Central. The result you should get from that will look something like this:

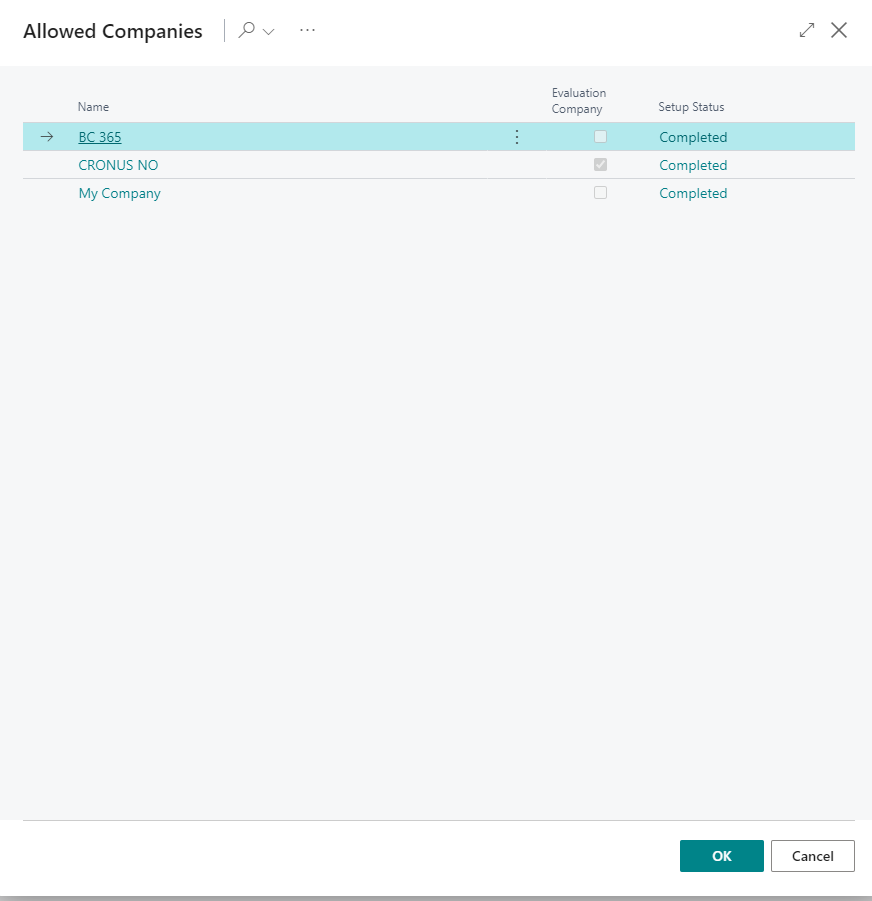
The result is showing you what Business Central thinks is the most relevant options based on your search term. For the purpose of creating a new company lets click on the first option “Companies” categorized as a list. This will bring up a list of all the companies currently in your database.

If you start with a completely empty Business Central environment these are the two companies you will find in your system. The Cronus company is a demo company that is filled with some demo data. You can use the Cronus company if you want to play around in Business Central and try out different functions or if you want to see how different parts of the system can configured.
The “My Company” is a company loaded with a default configuration and with no transactions in it so you could possible use that and rename it to your own company.
But we are not going to take any shortcuts so instead we will create a completely new company in our Business Central tenant.
To do so we click the “New” option in the upper left corner of our screen.
For this walk through we will chose the “Create New Company” option.
As expected this will start the “Create New Company” wizard.

So now lets click “Next” to get the good fun started. First we will be asked to provide some basic information about our company.
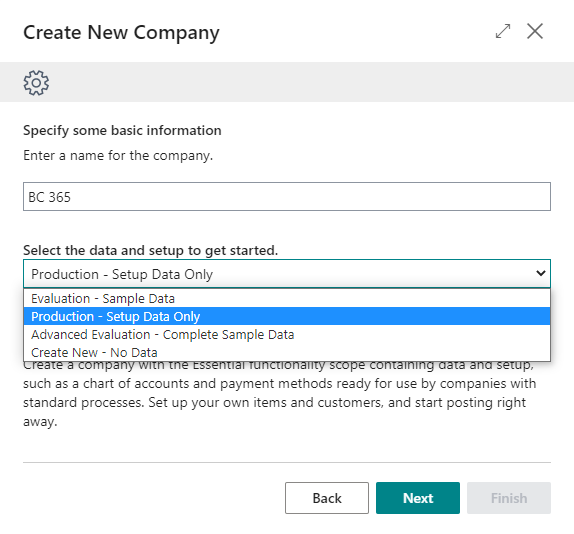
The first is our company name. I have named my company after this blog and named it “BC 365”. You type in the name of your company. This does not necessarily need to be the exact legal name of the company, but it can be a familiar name or a short name, because it is only used when Business Central list the companies in the database or as a banner in some pages. The actual legal name will be entered later in the company setup. Next we have to select the data and the setup we want to start with. Here we have several options to chose from. There are two options for creating a new evaluation companies and two options for creating production like companies. For production like companies we can either chose “Production – Setup Data Only” or “Create New – No Data”. In addition to this your Microsoft partner might have added other options for your region.
Production – Setup Data Only fills your database with some basic setup and is often the best choice if you want to get going as fast as possible. Even though you might have your own chart of accounts and are a running business this setup can be modified to fit your needs. So this is the option we will proceed with in this tutorial.
Create New – No Data is the option that lets us start with a completely empty company and we will have to do all the setup and configuration our self. This option might be used if you are a running business and you have some setup that differs a lot from what is commonly used or if you simply have decided that you want to do all the setup yourself to really to be able to master and control it.
When we have filled in our company name and have selected the “Production – Setup Data Only” we click on “Next” to proceed.
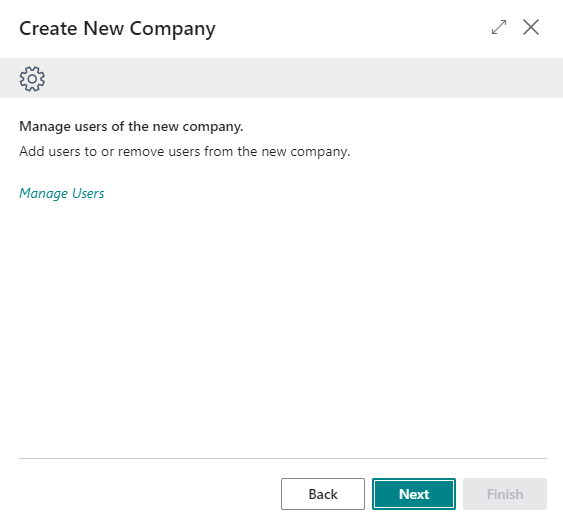
The next choice we have to make is about the users that will have access to our newly created company. We can also do that at a later time so for now I suggest we just hit next to move on.
Now we are presented with the last step of this wizard.
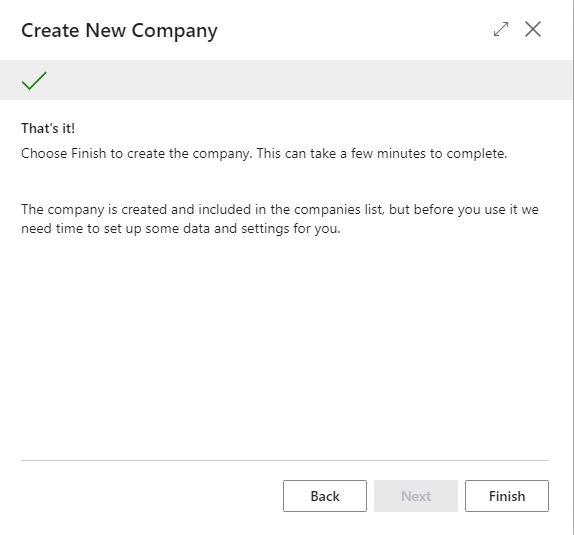
And after clicking “Finish” we need to allow Business Central a couple of minutes to complete the process.
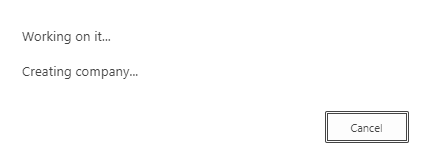
Still some more minutes to wait:
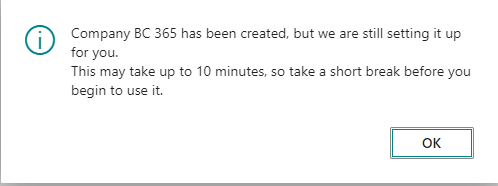
And if we look at the list of companies now we can see that the setup status for our new company is now “In progress”.

We have to wait until the setup states changes to “Completed” before we can actually start working in our new company.
When the initializing process is completed we are able to open our new company, In order to do so we need to access our user settings. We find them under the little gear in the upper right corner of our screen:

Clicking on the gear we are presented with the settings options that we have available. The options may vary between users with different permissions and different roles. My options are shown below.
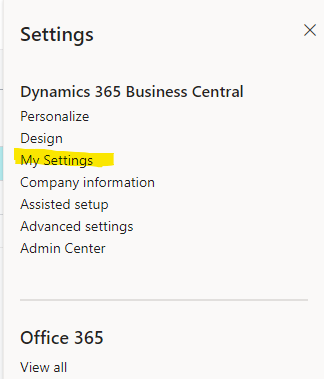
The settings option we want to access now is the “My Settings” option so lets click on that to see what are available for us.

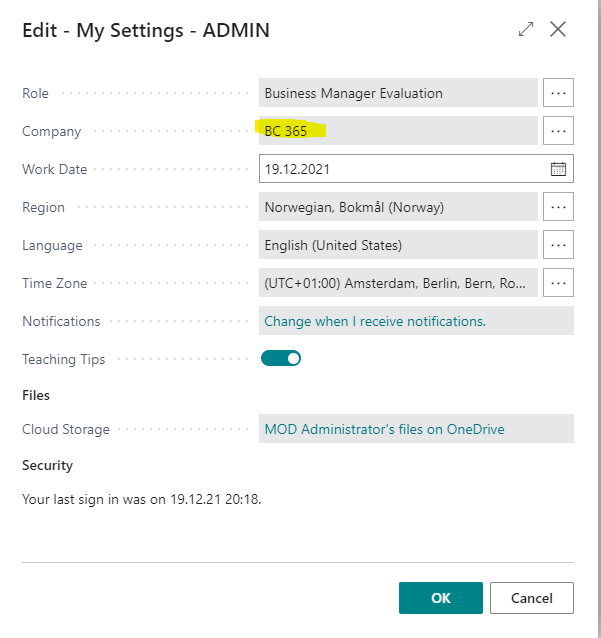
The system returns to the “Companies” page and we can see that the company indicator written in bold in the upper left corner have changed to display the friendly name of the company we currently work in.

If you want to return to the role center you can click on that company indicator. From any page you are in doing so will always bring you back to the role center.
Congratulations!
We have now finished the task of creating our new company in Business Central. We are not quite finished to do business yet, so in the next blog post we will dive deeper into the setup and get ready for processing our first transactions.
